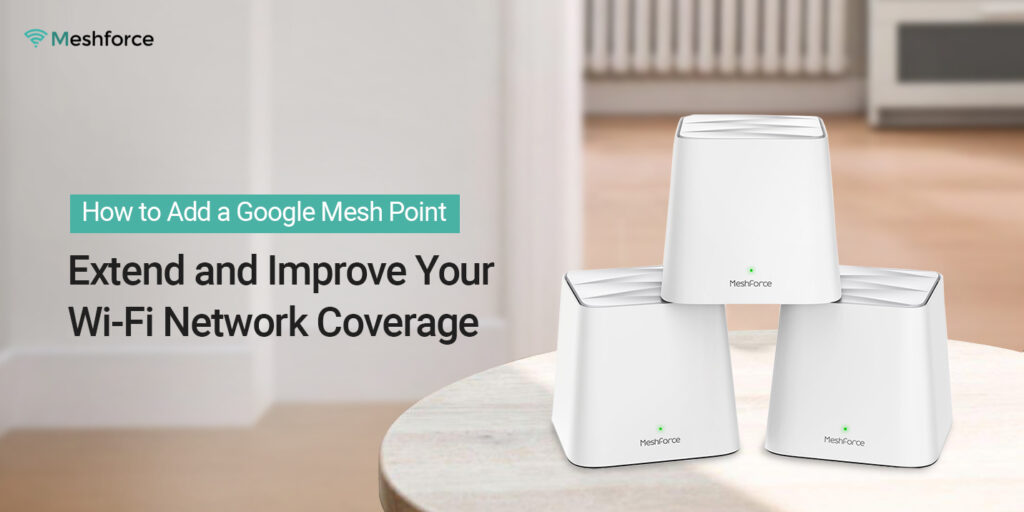
In the modern era, Google Mesh Point plays a vital role in coping with your modern digital gadgets. Similarly, it provides seamless connectivity and endless coverage throughout your home. In addition, if you still seek to increase the network coverage and speed, you need to add an extra mesh point. So, it is necessary to understand how to add Google Mesh point.
Generally, the only single way to add another mesh point to your Google mesh is by using the Google Home app. So, if you are seeking help with setting up an additional Google mesh point, then must stay on this page. Here, you explore the complete steps to carry out this process easily and other relevant information. So, stay tuned to this page!
Prerequisites for Mesh Access Point Configuration
While you are going ahead with the setup process for adding a mesh point to the primary router, then ensure to have the below-mentioned things:
- Active internet connection
- Primary mesh router/modem
- Google Home APP
- Admin Credentials
- Smartphone
- Power Adaptor for each mesh point
- Ethernet cables
How to add a Google Mesh point using the app method?
Moreover, if you are thinking of adding a mesh point to your mesh wifi systems. Then, ensure that you have already set up a primary router to the modem. Also, check that you are using the updated version of the Google Home app and a Google account on it.
Now, if you are ready with these essentials and looking for the steps for how to add Google Mesh point to the master router, then follow the steps mentioned below.
- To begin with, ensure that the mesh access point is powered on.
- Link the WAN port of the Google mesh unit to the master router’s LAN port using an Ethernet cable.
- Now, check the wifi settings of your smartphone and ensure it is connected to the Google mesh network.
- Next, confirm that you are using the upgraded version of the Google Home app.
- Here, open the app and access the Google account by entering the valid admin credentials.
- After that, you land on the smart Setup wizard of the Google mesh wifi.
- Hereon, click on the Devices>Add (+)>Google Nest or Partner Device.
- Now, the app will look for the device that you want to connect to & show your device.
- Further, tap on Yes>select the device from the list, and again click on Next.
- Afterward, check the QR code on the bottom of the device and scan it from 12 cm. away.
- If there is an error in scanning, press Continue without Scanning.
- In this scenario, enter the SetUp key available at the bottom sticker of the device.
- Further, follow the instructions shown on the mobile phone screen to end the procedure.
- At last, you now finish and understand Google Mesh point setup efficiently.
- When you are done with the mesh device setup, the Google Home app will perform a Mesh Test, so follow the instructions carefully and wait patiently.
Note: If you are using the Google Nest mesh points, then you hear a sound from the connected speaker as YES while configuring.
Final Remarks
All things considered, you are now aware of the easy steps for how to add Google Mesh point to your existing mesh wifi system. Hence, follow the steps carefully and avoid missing any of them. If still seeking more information regarding Google Mesh wifi, then stay in touch with us here!
