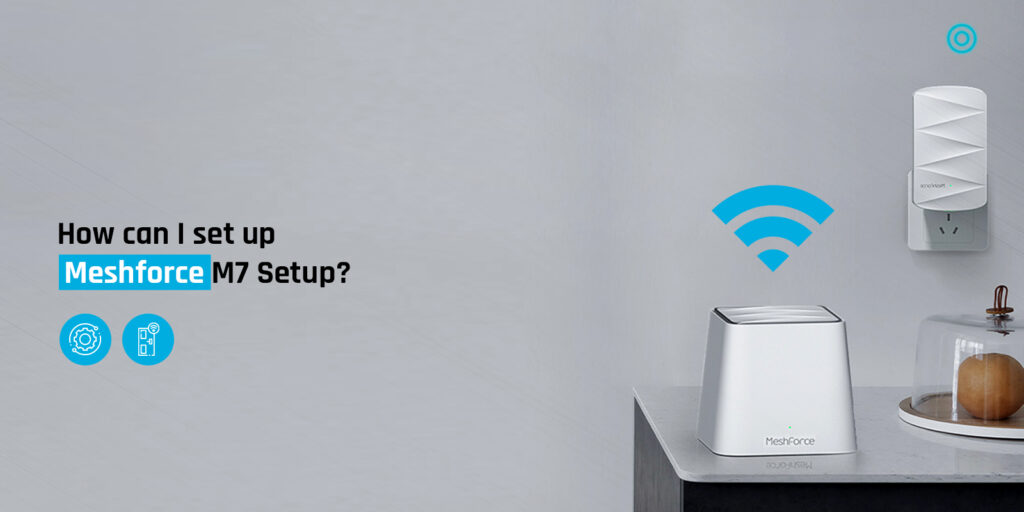
The Meshforce m7 tri-band is designed to eliminate the wireless dead spots from your home. With a decent throughput performance, you can install it easily by following the steps given in this blog. So what are you waiting for? Go through the piece of information given below and get insights on the Meshforce M7 login and setup process now.
Start with the Mesh app download
You should possess the most latest version of the Mesh app from the Google Play store or the Apple Store before beginning with the mesh force m7 tri-band setup and login process.
Hardware Installment
Follow the steps mentioned below to initiate the Hardware installation process:
- Firstly, power the main point and connect the modem to the WAN/LAN port of Mesh using the Internet cable.
- Just make sure that you are using the same cables which came along with the package. Avoid using any other wires and cables.
Connecting to the default wifi
You can connect the mobile device to the wifi available by default. The password and wifi name are stuck on the bottom of the label main mesh point. In case you are not able to notice phone wifi on the mobile phone, you can disable and re-enable the phone wifi.
How do you connect Meshforce via the Mesh app?
Launch the Mesh app on your mobile phone and begin with the setup process by following the instructions given below:
- When you open the app, it will automatically detect the connection type.
- You can also choose the manual connection, in case the app fails to find one. Generally, there are three connection types supported as follows:
- PPPOE– this is applicable where the ISP provides the PPPOE username and password.
- DHCP– Here, you can obtain the IP address automatically.
- The Static IP asks for configuration from the ISP. This happens when you are using the status IP address.
Setting the New Password and Wifi name
You can set the personal wifi name and password and customize the settings. Remember that the password should contain at least 8 characters. Just tap on OK and wait to connect to the wifi. You will successfully connect to the First main point.
Addition of More Mesh points
Now, power the additional Mesh points. Once you finish powering them, enter the app. You will notice that they can be detected automatically if they are found to be near the main point. You must keep every 2 mesh points within 32 feet or just 2 rooms away. Also, don’t place them closer to the microwave oven and refrigerator. These Mesh points are generally for indoor usage. Other product.
Remote management of Wifi
You can click @ icon on the top-right corner and register for the account. After signing in you will be able to manage the wifi remotely. In case you wish to add any of your family members to manage the settings of the wifi, go to Settings and then click on Account Authorization. Fill in the ID displayed on the profile page. The family member whom you wish to add must have a registered My Mesh account. The Account authorization feature is generally visible for the admin of wifi only.
Troubleshooting tips to resolve Meshforce M7 setup issues
You might face some minor or major issues while setting up your Meshforce M7 setup. But, they can be resolved by following quick troubleshooting tips given below:
Why does the point LED indicator stay red?
There can be several possible reasons behind the red indicator light. Fix them by following the tips mentioned:
- This situation might arise when the connection with the main point is lost. Try to plug the power again and restore the factory settings.
- Make sure that you are working with the correct connection type.
- Also, verify if the ISP service is smooth and the modem is working properly or not.
Why am I unable to access the Internet setup successfully?
Before resolving the issue, check if you have a valid internet service or not. Still, follow the given tips to resolve the error:
- Firstly, check if the modem is connected to the main Mesh point’s WAN port.
- You can also switch to popular public DNS settings in the app like Google DNS 8.8.8.8 and 8.8.4.4.
- Disable the proxy /VPN settings temporarily as they pose hurdles in internet accessibility.
Other troubleshooting tips to tackle Mesh related issues
- Try to maintain minimum interference between the devices as this may decrease the speed. Try to reconnect the wifi on the mobile device and get closer to the main mesh point.
- In case your mobile joins a crowded channel, it will decrease the speed. Try to restart the mesh point and reconnect the wifi.
- In the end, if nothing works, you can reset your device to factory defaults anytime.
How to reset my Meshforce m7 to factory defaults?
The factory reset operation helps deal with many issues related to the Meshforce M7 setup process. With the help of a sharp object, press the reset button. Keep holding it for at least 10 seconds until you will notice that the LED indicator blinks green.
Conclusion
You can easily set your meshforce m7 tri-band by following the steps given above. In case you wish to know more about how you connect Meshforce or the troubleshooting steps in detail, get in touch with our tech-savvy at the end.
